Vertical menus anywhere in Divi
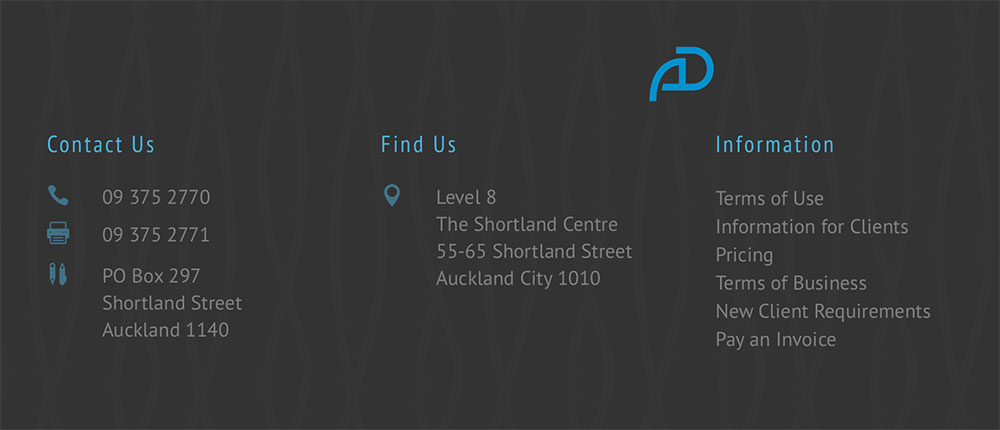
When we are creating custom footers in Divi we sometimes add a verticle menu of a select few pages in the footer.
To do this we can use the Divi Menu Module, however, out of the box the menu is horizontal.
This artcle is going to show you how to create a vertical menu in the Divi menu module that you can customise to match your other site elements.
This will keep the brand looking perfect and maximise your flexibility.
First Step – create a new menu
First we create a Menu for the footer or where ever you want the verticle menu. We create this in the same place as all menus are created.
Second Step – add the Menu module to the column you want it in
Enter the part of the site you want the verticle footer to be added. Add the module and select the menu. Style it to suit your site. (I tend to design my footer on the Home page and add it to the Divi Builder as a Global Footer after I am happy with it).
Third Step – add CSS to the menu module
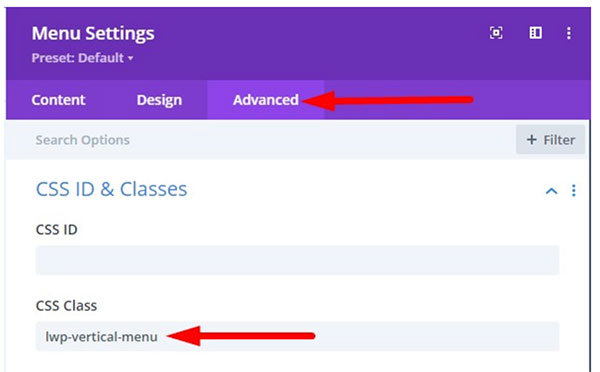
Open the Menu Module Settings > Advanced > CSS ID & Classes > CSS Class and then add the class lwp-vertical-menu.
Fourth Step – Add the following code to the CSS area of your Divi site
Next you’ll need to add the CSS Code to style the menu module to make the menu items fall in a vertical format.
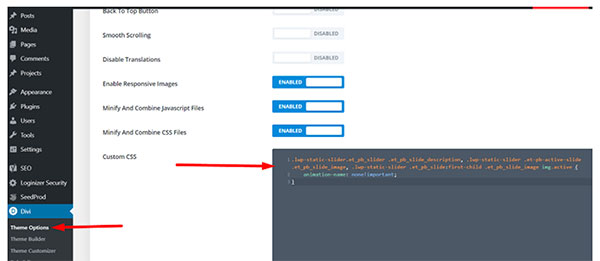
Go to your WordPress Dashboard > Divi > Theme Options > Custom CSS and then add the following CSS code.
|
1
2
3
4
|
.lwp-vertical-menu nav ul li { width: 100%; display: block;} |
There is more information on the Divi Menu module vertical use here. Divi also has some great tutorials on how to utilise the Menu module for custom headers.
For more great menu ideas head to our Quick Tips


