Why do you need to optimise images?
Clients often like to edit their websites, and one of the things we stress is how important it is to optimise images.
Optimisation means that images are saved at the best quality for the smallest file size. As well as that, they also have to be the correct size to fit the space you are placing them into. If the file is too large, you could be compromising your site speed. A large file takes longer to render in your browser than its smaller counterpart. Also, if an image is large, chances are the image is being reduced to fit the space using code. When a site loads, the code added to the site is one of the first things to load. The site will take longer to load if this styling code file is heavy.
Unfortunately, if a site takes a while to load, that will impact your search engine optimisation or SEO. That is why you need to resize any images loaded on your website.
UPDATE – April 23, 2024: Since posting this article .jpg is no longer the best file type for the best speed and time to load. There are always improvements in the world of web and the new preferred file type is .webp This files are significantly smaller than a .jpg file. We’ve been on the look out for a way for clients to create these and here it is… To WebP. This is a free converter to help you convert your jpg files.
However, you still need to optimise them as in the information below before using the converter!
How big is too big?
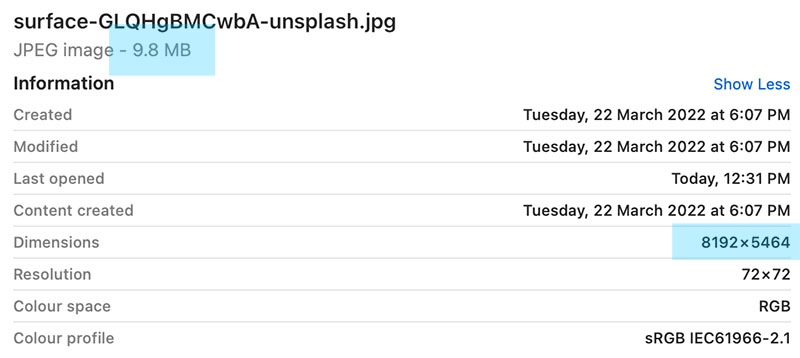
Shown below is the information of a raw or unoptimised file. As you can see, the dimensions are 8192 x 5464 pixels, and the file size is 9.8MB. This is an example of a very large file that has been downloaded from an image library called Unsplash.
What size should your image files be
The following sizes are used on our Woodswork web builds:
1920 x 600 pixels for full width or hero images. Sometimes hero images are a bit deeper.
1000 x 668 pixels for blog post featured images.
800 x 534 pixels for use half screen width.
500 x 334 pixels for use one-third of screen width.
These sizes are fairly common on any modern web build. If images are not resized correctly, one of the following two things can happen:
1. The images will be so big that they impact the site speed.
2. The images will be so small they will be blurry.
The good news is image optimisation is easier than you’d think
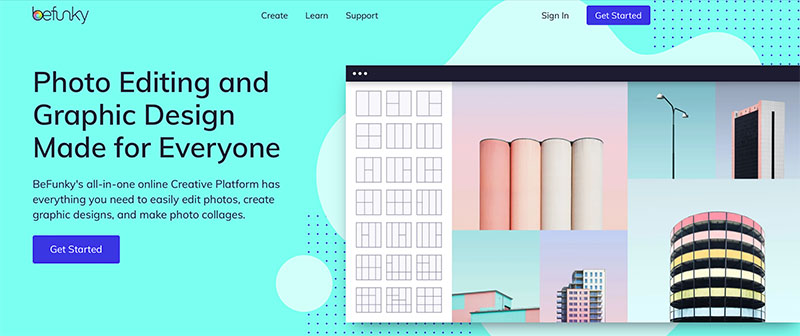
There’s no need to buy expensive applications like Adobe Photoshop. We have researched a few options, and we have come up with our top pick. We think BeFunky is a great free image resize tool that offers a lot of great options. You don’t need to download or install anything. You can edit image files right inside your browser.
How BeFunky works
You resize images by width or height. For example, if you need your photo to be 500 pixels wide, you can type that value into the ‘Width’ field. If the ‘Lock Aspect Ratio’ box is ticked, BeFunky will automatically resize the height so that the image isn’t distorted. We love it so much that we have made a step-by-step tutorial on optimising images using BeFunky.
Files can be dragged and dropped from your computer desk-top or added from cloud-based storage accounts like Google Drive and Google Photos.
What’s more, basic photo resizing and editing is FREE! For more editing options, you can upgrade to BeFunky premium. Premium is not required for simple image reduction.
The difference between optimised and unoptimised
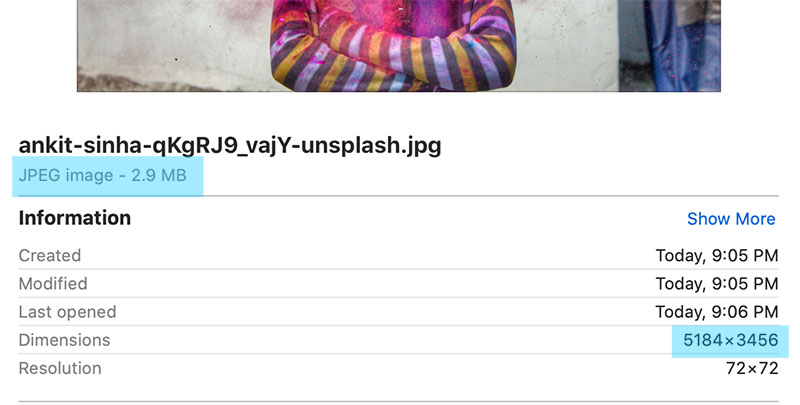
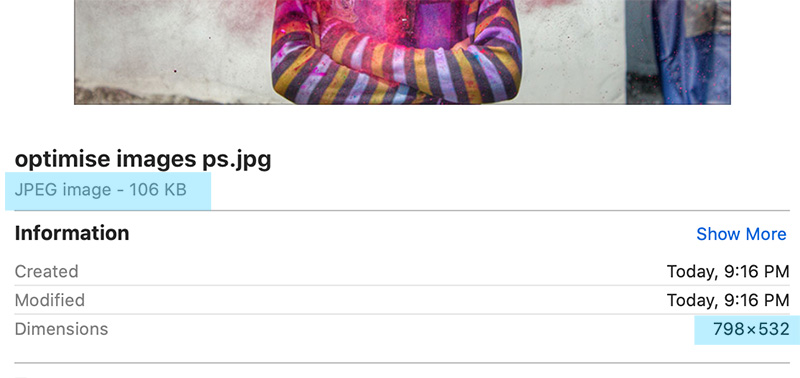
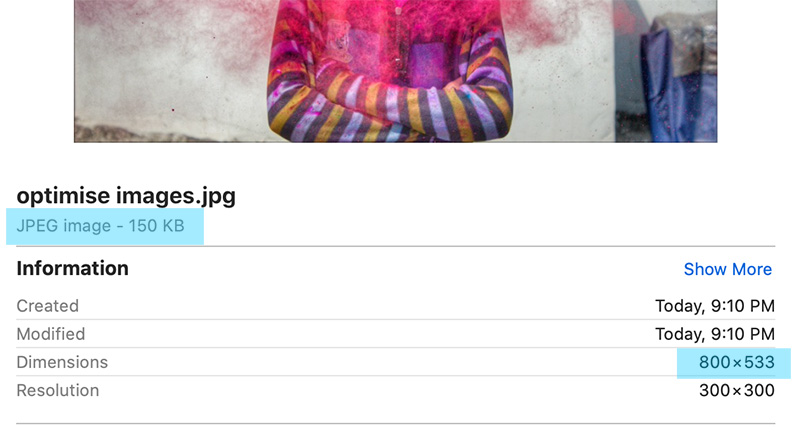
The standard file size will be very large for a high-resolution downloaded image. In the pics below, you can see the information on an image before and after we passed it through the BeFunky processor.
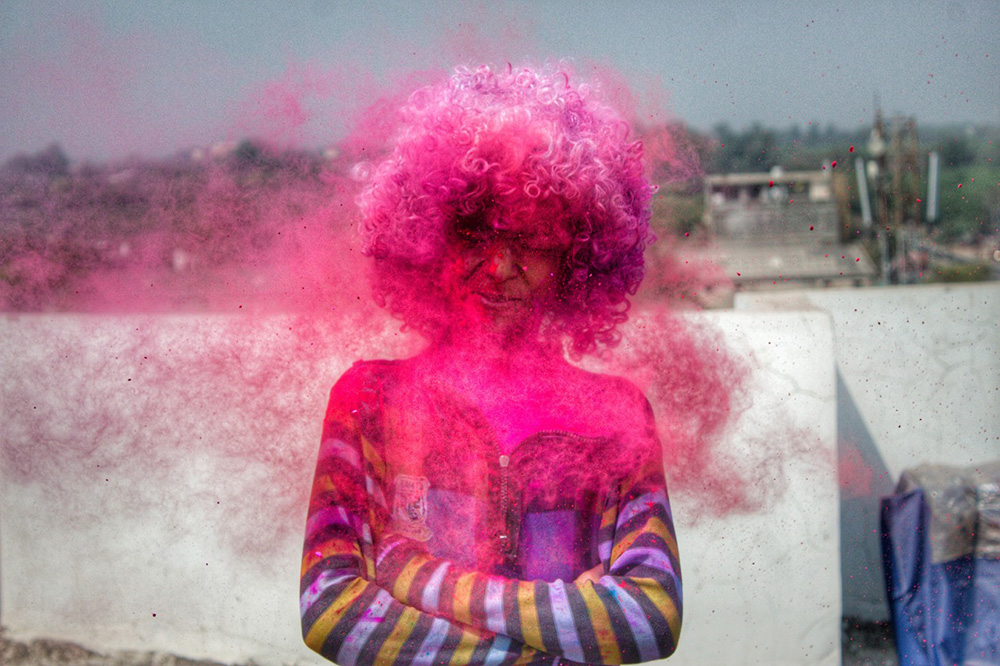
You can see the drastic reduction in the file size of our featured image.
The original file is over 5000 pixels wide at 2.9MB, the file saved for web use is 800 pixels wide and 150kb: just a fraction of the original size.
Although we use Photoshop and were able to shave another 50kb off the file size, we are still really impressed with the result.
An unoptimised file
A Photoshopped optimised file
A BeFunky optimised file
You can optimise further
If you want to test the file size to see if it could be smaller, you can run your images through another level of optimisation by using tinypng. This will compress your file even further.
As you can see, there was no further reduction of our Photoshop (ps.jpg) file, but another 30kb was removed from the BeFunky file.
If this seems pedantic, the difference of a few kb can take your site from orange to green light statistic levels during a site audit.
The more green icons in an audit, the better the SEO and the more traffic you get. It’s as simple as that.
Start with the good stuff
Bear in mind that resizing images is done to reduce the size. If you have a file that is already too small and looks blurry, no amount of resizing will improve how it will look on screen. If this is the case with your images, our advice is to find better images. Poor resolution images will let your site down and compromise how visitors perceive your brand.
There are many image banks and resource sites online where you can download great quality images. The prices can range dramatically.
Enjoy resizing your images. You are going to find BeFunky easy to use, and if you have any queries, we are a phone call or email away. Have fun!

