Gravity Forms and how to add a shop products
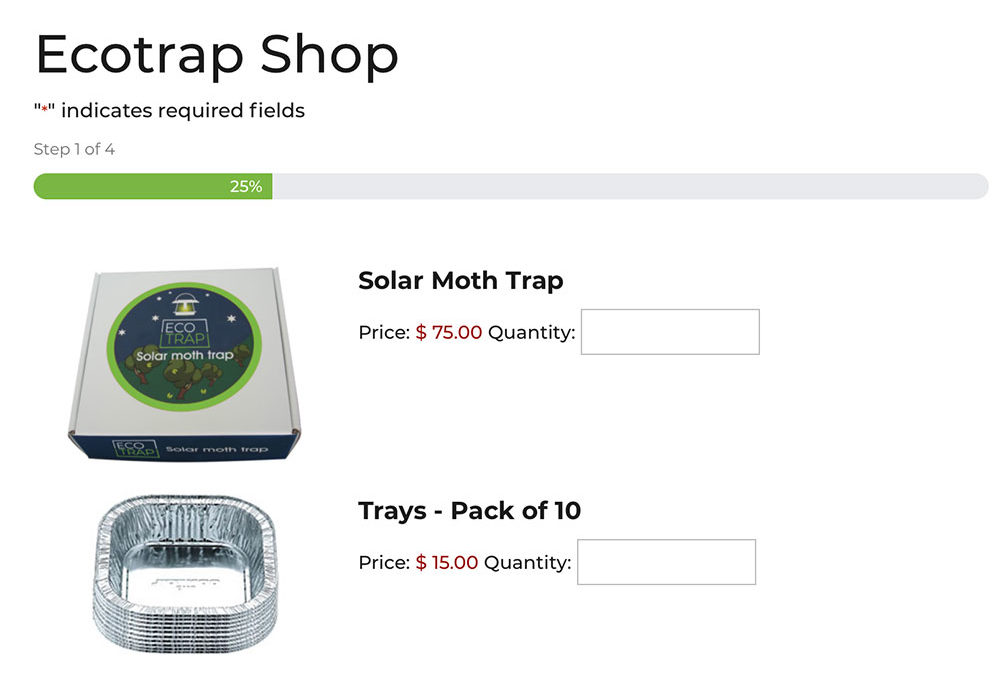
For clients that only want to display a handful of products we offer a store using Gravity Forms.
It is a very cost effective way to sell a few products.
The only issue is that the client is not likely to be able to do this themselves so you will be on call if there are changes to make.
We are quite happy to help our clients with their changes so it suits us.
Adding a payment service
You will need to own and install Gravity Forms.
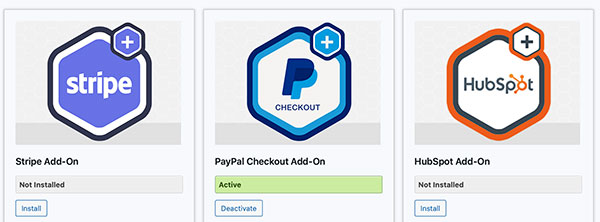
You will then need to install a payment gateway from within Gravity Forms Add-Ons. In this case we used PayPal checkout. There are many more e-commerce and merchant service options.
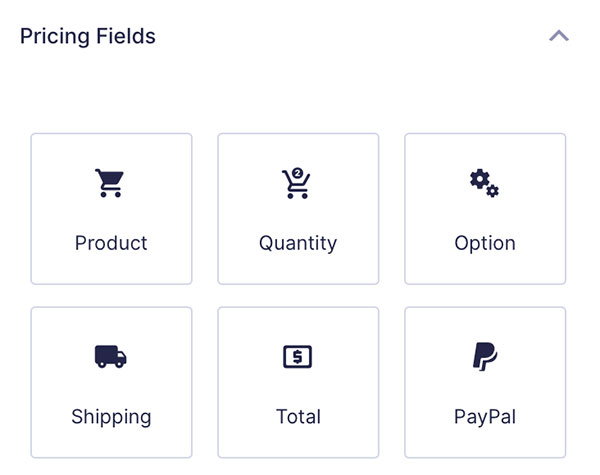
Once you do this you will find a new set of Shop Modules available in the form.
We decided to use pages on our form so that it didn’t get too busy on the page. Get in touch with us for more information on how to configure a Gravity Form we may cover this in a later Quick Tip.
Build out the form using the pricing fields. Integrating the modules is relatively easy.
The part we found needed more explanation is how to include an image with the product as in our hero image. Here’s how we did this.
Adding an image to a Gravity Form product
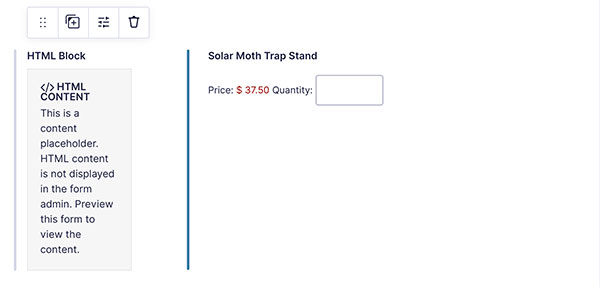
Add an html field. Leave it blank for now.
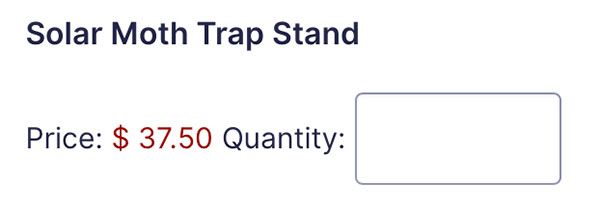
Then add the Product field. Go ahead and add the product details.
With the new version of Gravity Forms dragging and placement of fields into columns is way easier. Drag the Product field up behind the html field. Drag the blue line along to change the size of the html field with. I like the image quite small.
The next step assumes you have already made an image file for your product and uploaded it to the image gallery.
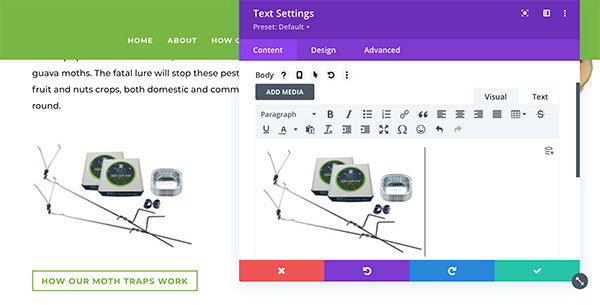
Head to any page on your site.
Add a text box.
Add the image via ‘Add Media’.
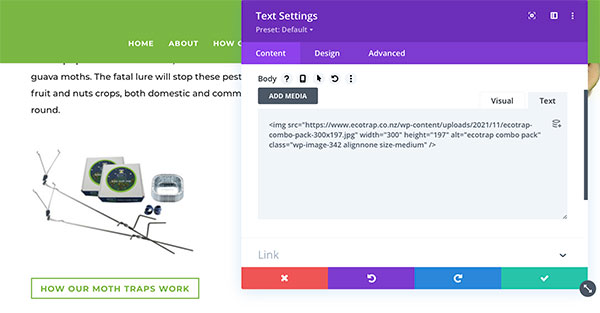
Head to the text tab and copy the html code.
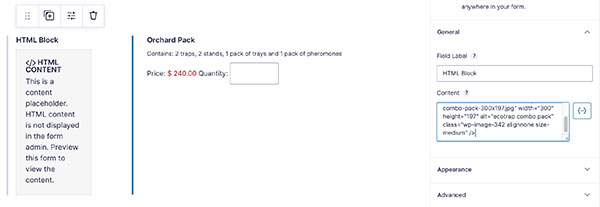
Head back in to the back of the form and paste the code into the relevant html field for that product.
And that’s it. For more information on setting up cost effective Gravity Forms ecommerce options, get in touch.

