Changing the the number of posts that are displayed in Divi blogs
Sometimes the blog module post number shown on a page needs to be different to the default number in Divi.
To begin editing text on your website, Login to your website using your user name and password.
This post assumes you already have a blog added to your website.
There are many ways to customise the Divi blog module. By default, the Divi blog module shows 20 posts. The module is also set to show three columns. This blog will cover how to change the post number from 20.
Reasons to change the blog module post number.
- As columns are in rows of three, multiples of three posts are often more aesthetically pleasing as they create a complete row. Usually, 6 or 9 are visible with the option to see the older posts below.
- The blog posts may be a teaser row on a Home page, requiring only one row of posts.
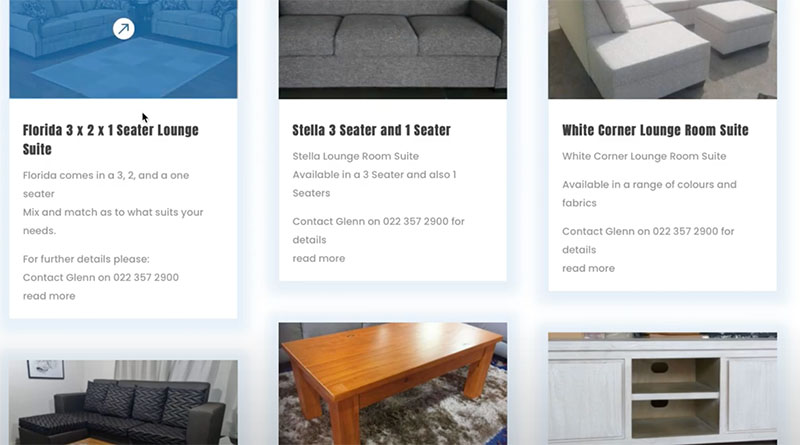
- Here the client uses the blog posts rather than a shop to show a catalogue of products. It is an excellent option if products are never for sale online. The opposite may also be a reason to edit the blog post module number, as in this example.
How to change the number of posts shown
Navigate to the page where the blog is sitting.
Select the purple Enable Visual Builder in the top black admin area.
Hover over the blog module until you see the grey tool bar.
Select the Cog icon.
You can learn more about using the tools here.
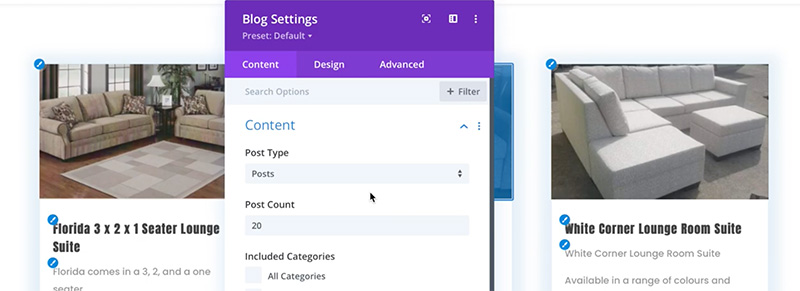
After clicking on the Cog icon the Blog Settings box will open.
Under Post Count, type in the required number of posts you would like the feed to show.
In these settings, you can select many options for the elements and design of the blog.
We have changed the number from 20 to 150.
Click the green tick at the bottom of the Settings box to save your change.
Click Save in the green button at the bottom right hand side of the screen. If this isn’t visible, click the purple circle in the centre of the screen to view it.
Lastly, click Exit Visual Builder in the top black admin bar.


